WWII: Maginot Line | Normandy | V-Weapon Sites | Arnhem
Further afield: Crete
| Home Tracing Military Ancestors Travel Advice CWGC Cemeteries Iron Harvest News Book Reviews Glossary Links Contact Me The Somme:
 
|
Location 3 – The Sunken Lane
Directions – Rejoin your vehicle and continue along the road away from Serre. At the next crossroads take the left turn to Auchonvillers. After a few minutes drive, just as you enter the village, the main road bears to the right. Take the road to the left at this point, which is sign-posted to Beaumont-Hamel. Within a few minutes you will notice a memorial cross on the embankment to the left. Take the track up to the memorial and park. Historical Notes – Whilst it is not immediately apparent, this small section of the Western Front is probably better known than any other. For it was here, on 1st July 1916, that Geoffrey Malins, one of the handful of cinematographers on either side during the First World War, took some of the most evocative war footage ever captured on film. Malins, who had worked for Gaumont Pictures before the war, was directed by the commander of the 29th Division, Major General de Lisle, to this sector just in front of Beaumont Hamel to film the detonation of the massive "Hawthorn" mine under a German strongpoint known as Hawthorn Ridge Redoubt.
Whilst in the area he also filmed men of the 1st Lancashire Fusiliers who had made use of a Russian Sap to gain access to what became known as "the Sunken Lane". This sheltered position halved the attacking distance and there the battalion waited for the explosion of the mine and the bombardment to lift which would signal the start of the advance. Within an hour, many of the tommies peering out from this grainy footage would be dead.
The VIII Corps Commander, Hunter-Weston, believed that the Hawthorn mine, consisting of over 40,000lb of ammonal high explosive, should be blown at 7:20am. This was ten minutes before the attack was due to begin but would, he believed, buy more time for troops to occupy the crater to support the waves of infantry due to advance on either side. It was a fateful decision. When the massive charge was fired it could be heard right across the northern part of the battlefield. To the Germans it signalled that an attack was imminent. By 7:25am their fire step was fully manned and ready to receive the British assault. Even worse, following the explosion, the British artillery in a pre-planned move, increased their range to bombard German positions further back leaving the Lancashire Fusiliers with no artillery support. The result was as predictable as it was bloody.
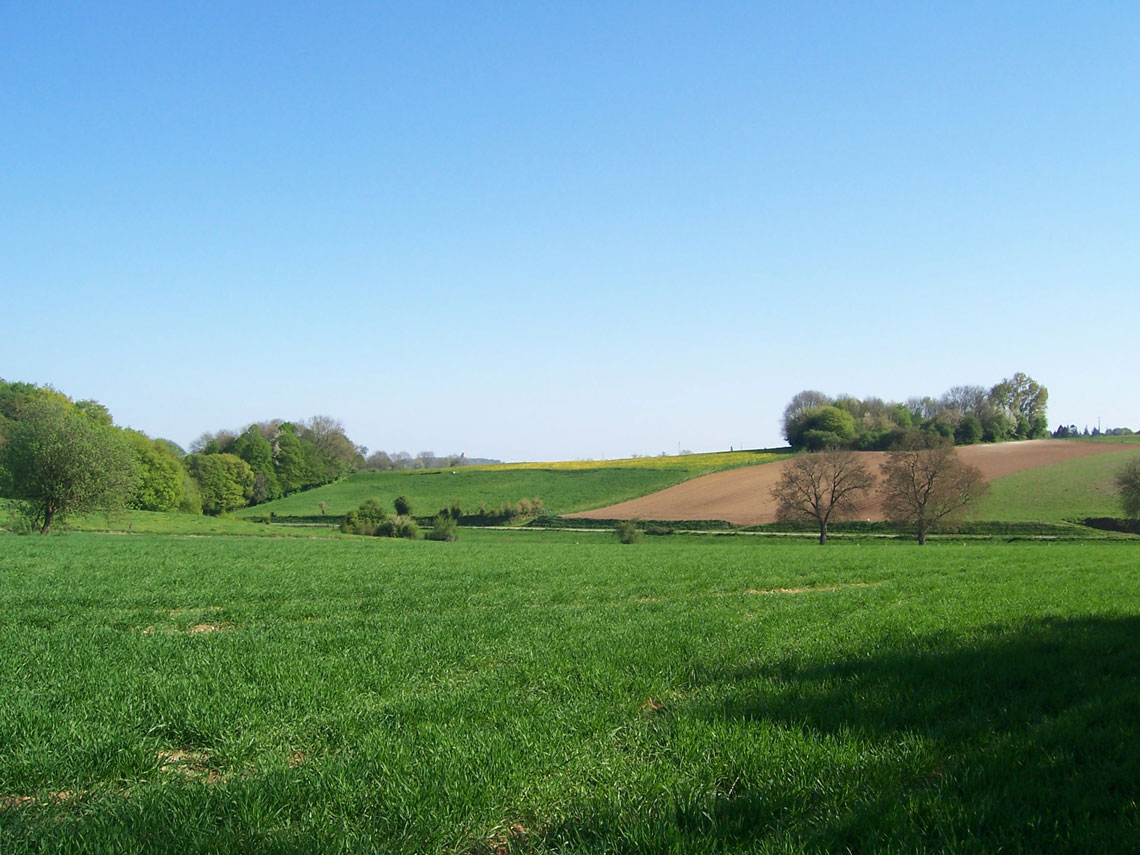
The Lancashire Fusiliers charged forward only to be met by sustained German fire all along the line. Very few even made it to the German wire which was, in any case, largely intact. Many were hit leaving the sunken lane itself. A hurricane German counter-bombardment struck the sunken lane adding to the carnage. Altogether the 1st Lancashire Fusiliers lost 486 men – a loss made all the more poignant by the haunting images captured by Malins that morning. Today the sunken lane (which passes to the right of the memorial cross) and area around remains remarkably unchanged. The site of the detonation of the Hawthorn mine is marked by the clump of trees atop the ridge on the other side of the Auchonvillers – Beaumont-Hamel road.
|
||||||||