WWII: Maginot Line | Normandy | V-Weapon Sites | Arnhem
Further afield: Crete
| Home Tracing Military Ancestors Travel Advice CWGC Cemeteries Iron Harvest News Book Reviews Glossary Links Contact Me Normandy Landings:
 
|
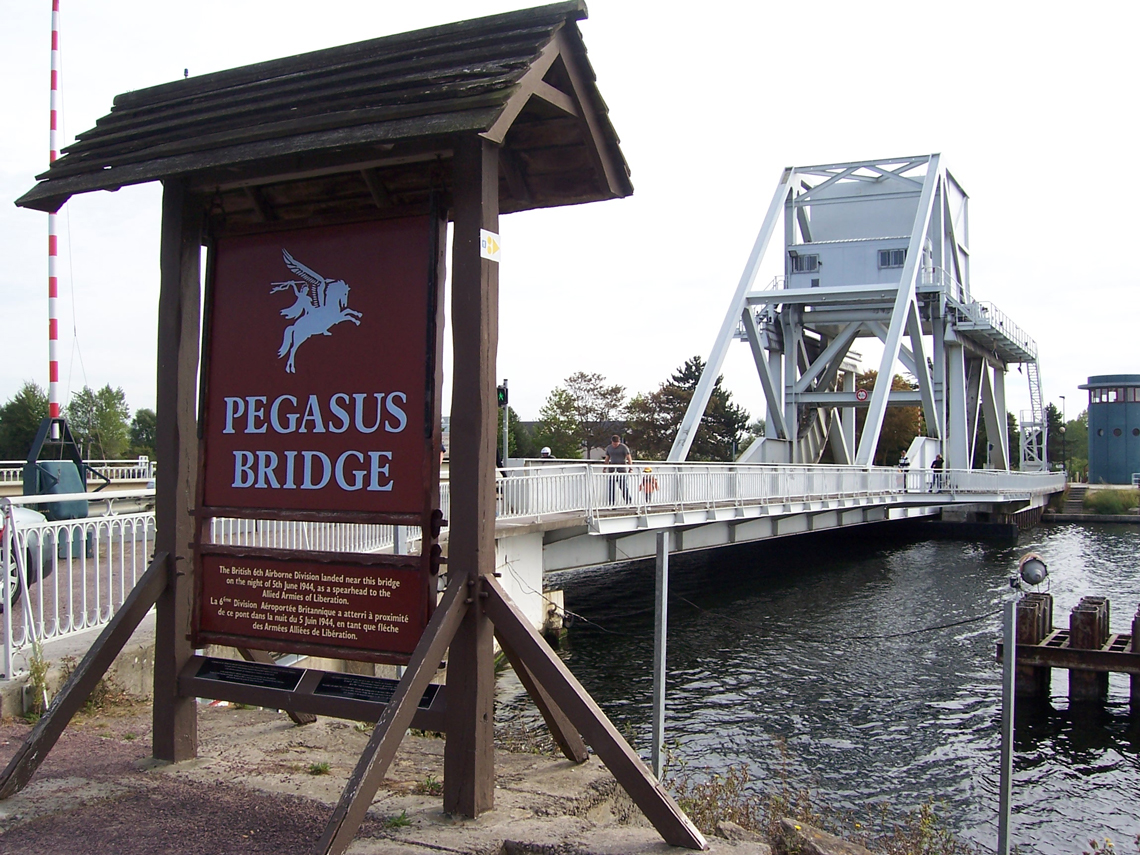
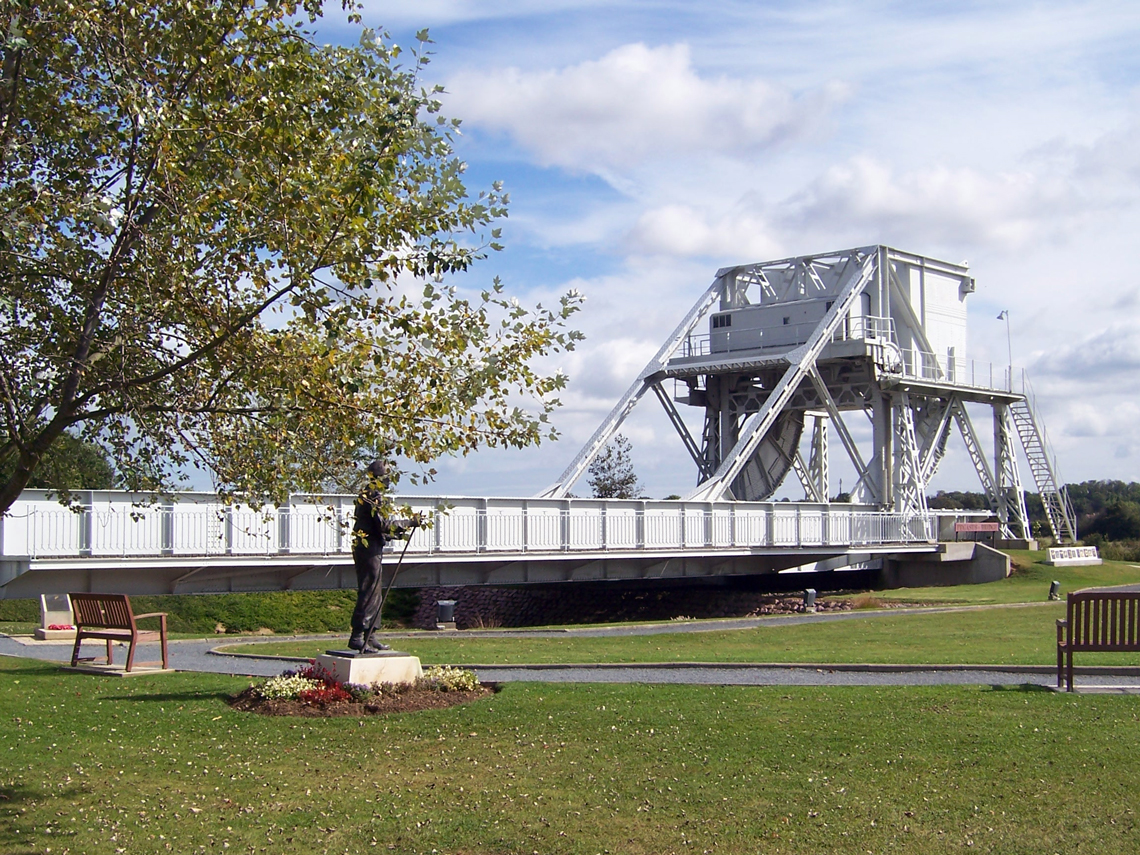
Pegasus Bridge and its Surroundings – A Photographic Guide
Directions – From Bayeux you can either take the N13-E46 to Caen exiting for the D515 off the Péripherique Nord marked Ouistreham or, alternatively for a more scenic drive, you might want to take the D12 off the Bayeux ring-road and the D176 to Douvres. This route bisects the ground taken by the troops who landed at Gold and Juno beaches on D-Day. Then take the D35, which passes through Hermanville, before reaching the D515 just north of Bénouville. Follow the signs off the D515 into Bénouville and to Pegasus Bridge off the roundabout. Pass over the bridge and park in the museum car park on the left. Practical Information – Due to the central place that Pegasus Bridge occupies in the D-Day story, it is one of the key destinations for most visitors to the British/Canadian invasion area. As such it can get fairly busy in the summer months and it is well advised to reach the museum car park by mid-morning to avoid any problems parking. The best plan is to visit the Memorial Pegasus Museum first for a useful background on the 1944 fighting in this area – particularly as regards the 6th Airborne Division, before following the locations in order. To save doubling back on oneself visitors may wish to head for Location 2 before proceeding to Location 1. The car will need to be used again to reach Location 6.
Historical Information – A vital element of the D-Day plan was the securing of the flanks of the invasion area using airborne forces. These comprised the US 82nd and 101st Airborne Divisions in the west and the British 6th Airborne Division in the east. Commanded by Major-General Richard Gale, the 6th Airborne was raised and trained in just 11 months specifically for Operation Overlord. Its objectives were the most challenging and diverse of any division involved. They included:
Without capture of the Caen Canel and Orne River Bridges, however, the airborne plan would unravel. Deprived of seaborne reinforcements the lightly armed paratroopers and glider infantry fighting between the Orne and the Dives would be crushed by superior numbers and firepower, leaving the landing beaches dangerously exposed to direct attack by German forces.
|
|||||||