WWII: Maginot Line | Normandy | V-Weapon Sites | Arnhem
Further afield: Crete
| Home Tracing Military Ancestors Travel Advice CWGC Cemeteries Iron Harvest News Book Reviews Glossary Links Contact Me Normandy Landings:
 
|
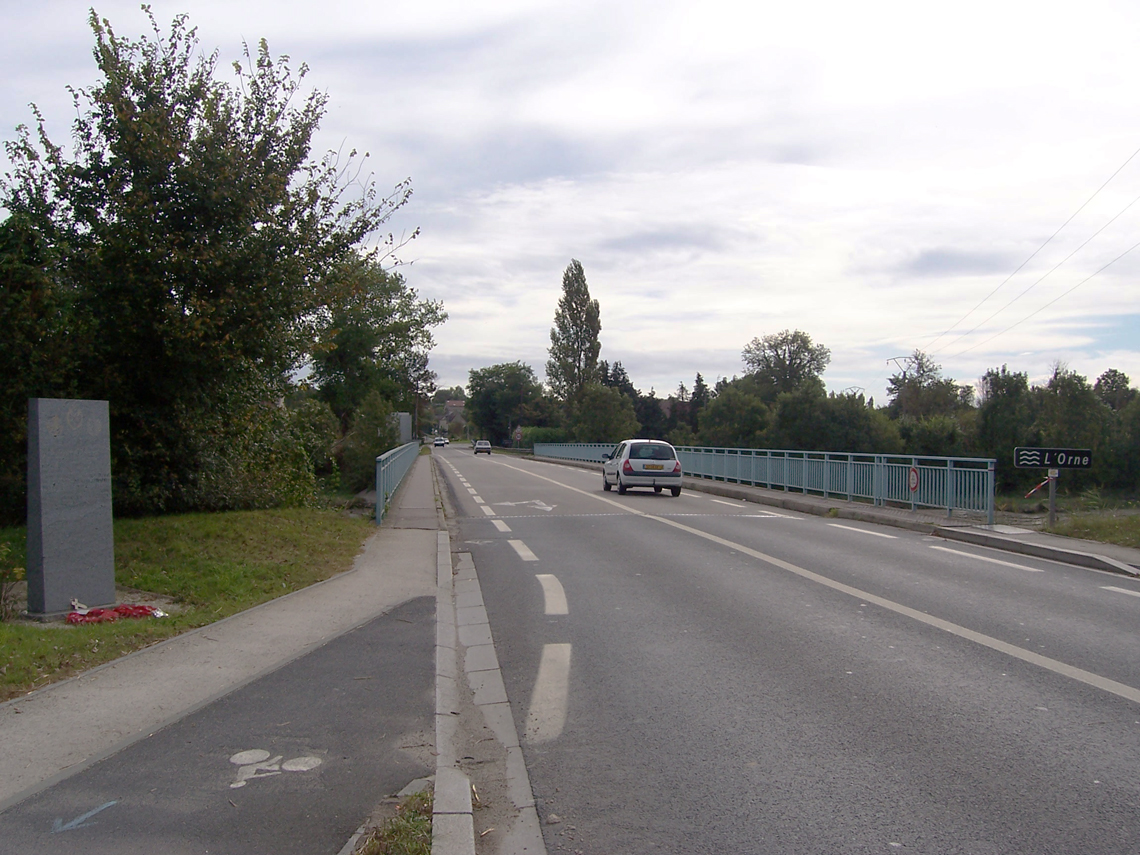
Location 2 – The Glider “Coup de Main” – Horsa BridgeJust a few minutes after Major Howard’s glider crash-landed at Pegasus Bridge, the third Horsa of the three destined for the Orne River Bridge made a perfect landing 300 yards from its objective in the field to the north of the road on the west bank. Unfortunately, the other two gliders weren’t so lucky - the first hit an air pocket and landed 700 yards from the bridge, whilst the second, due to a navigational error, touched down close to a bridge across the River Divette eight miles away. Unruffled by the absence of two-thirds of the force, Lieutenant Dennis Fox, commander of No 6 Platoon Oxfordshire & Buckinghamshire Light Infantry, immediately led his men across the field towards the bridge.
Although more lightly defended than the canal bridge, the German defenders here had already been alerted by the sound of firing from Major Howard and his men and were now fully on their guard. The defences to the bridge consisted of an open machine gun post and a pillbox at the bridge’s western end. As soon as Lieutenant Fox’s men came into view the Germans opened up. Luckily, Sergeant Thornton had held back from the main party with the platoon’s 2-inch mortar and managed to drop a bomb right on top of the machine gun post. With the defences disabled, Fox and his men rushed the bridge and met no further opposition – the other sentries disappearing in the direction of Ranville to the east. In just 10 minutes the keys to the defence of the entire eastern flank of the invasion had been secured.
|