WWII: Maginot Line | Normandy | V-Weapon Sites | Arnhem
Further afield: Crete
| Home Tracing Military Ancestors Travel Advice CWGC Cemeteries Iron Harvest News Book Reviews Glossary Links Contact Me V-Weapon Sites:
 
|
Location 1 – Bunker Eperlecques
Historical Notes – The Bunker at Eperlecques is one of the most impressive military structures anywhere in Europe. It was one of three V-2 assembly and launch sites planned by the Nazis in late 1942 and was given the codename Kraftwerk Nord West (KNW). The location here, being on a reverse slope in a wood, afforded cover from prying eyes as well as being close to existing rail communications, which would bring in building materials and supplies. Construction commenced in March 1943 with a proposed in-service date of 31st October 1943. Despite the secrecy surrounding the project, however, by May 1943 the workings had been spotted by RAF aerial reconnaissance and on 27th August 185 Flying Fortresses of the 8th US Army Air Force severely damaging the site, killing and wounding a number of workmen. Bombing raids continued into September, by which time it was decided that the northern part of the site was too badly damaged for work to continue and the focus shifted to the southern part of the site and the completion of the liquid fuel production facility. This was finally finished in January 1944 but twenty further raids, two of which using the RAF's super-heavy 12,000lb "Tallboy" bombs, made operations from Eperlecques impossible. No V-2 rockets were ever fired from the Bunker. On 6th September the area was liberated by Canadian troops.
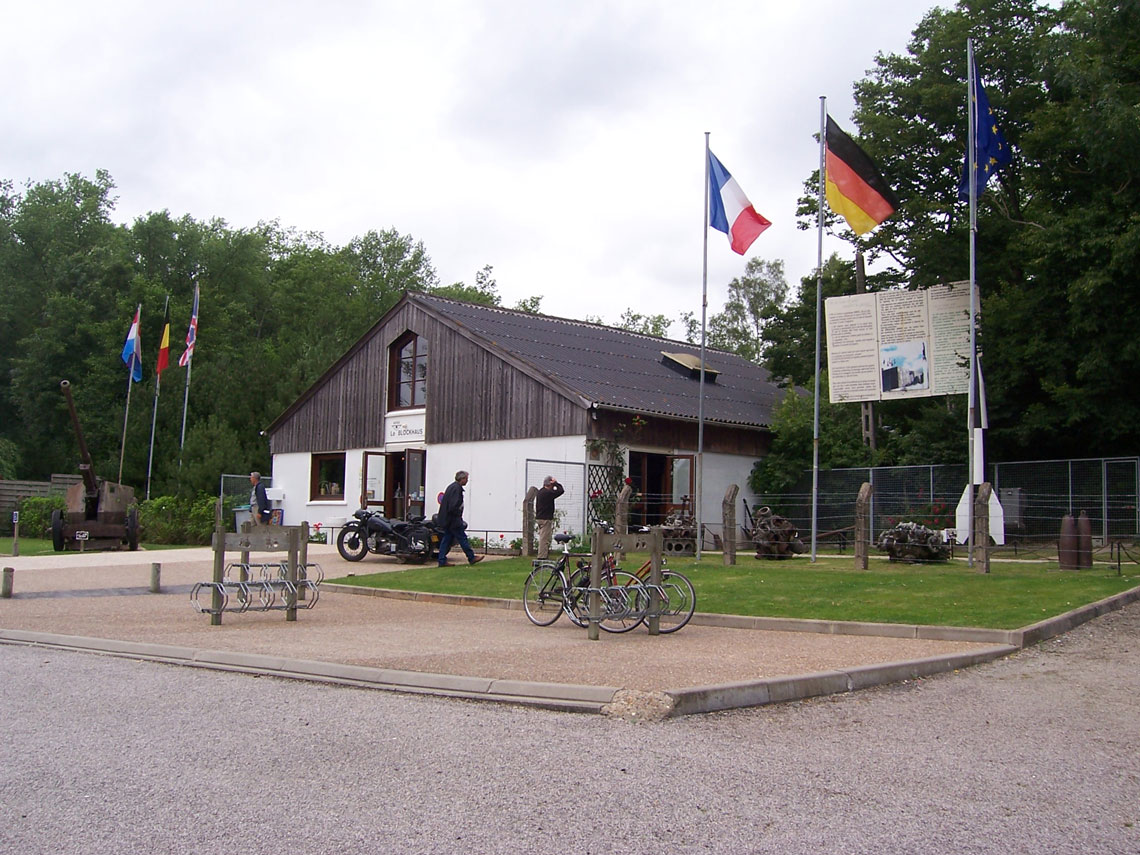
Photographic TourApproach to the bunker (photos 1-3) – As you leave the ticket office and shop and enter the wood there are a number of sites of interest. These include a pathway in remembrance of the slave labourers from all over Nazi-occupied Europe who built the bunker, many of whom lost their lives in the Allied bombing. The flags of the various countries flank the path. Also to be seen are Second World War vehicles and guns, some of the Allied bombs which failed to detonate and a V-1 Flying Bomb together with its launch ramp. Eastern elevation (photos 4 & 5) – The first view of the structure as one emerges from the wood is quite striking. The reinforced concrete east wall rises to 28 metres. This huge building housed the liquid fuel production facility. Northern elevation (photos 6-9) – As you reach the northern side of the side, the true scale of this enormous building becomes clear. Incredibly the completed structure would have been far larger with the roof of the liquid fuel facility being extended to enclose the narrow gauge railway supply lines which would have run into the gallery below east to west. The destruction wrought by the RAF and USAAF here is undeniable – huge chunks of reinforced concrete have been tossed about like toys. Beneath the northern elevation (photos 10-13) – You can access the railway galleries below ground level from the north-western corner of the site. From here the pounding received at the hands of the Allied airforces becomes clear. The various galleries between the rail lines and the main Bunker were used for liquid fuel storage and as transit areas for the rockets themselves. Inside the Bunker (photos 14 & 15) – The main structure that remains was essentially a factory for the production of liquid rocket fuel and a servicing hall for the V-2s. The interior of the Bunker is vast and very gloomy. As a result neither flash nor non-flash photography works very well here – so apologies for the poor quality of the images! Southern Elevation (photos 16 & 17) – Following their journey from the transit galleries, through the servicing hall, the V-2s would have been launched from pads either side of the control tower which would have been atop the concrete pentagonal structure in the middle of the southern elevation. The effects of Allied bombing are readily apparent here. For additional information on opening times and admission fees, please visit the Eperlecques Bunker website. |