WWII: Maginot Line | Normandy | V-Weapon Sites | Arnhem
Further afield: Crete
| Home Tracing Military Ancestors Travel Advice CWGC Cemeteries Iron Harvest News Book Reviews Glossary Links Contact Me Normandy Landings:
 
|
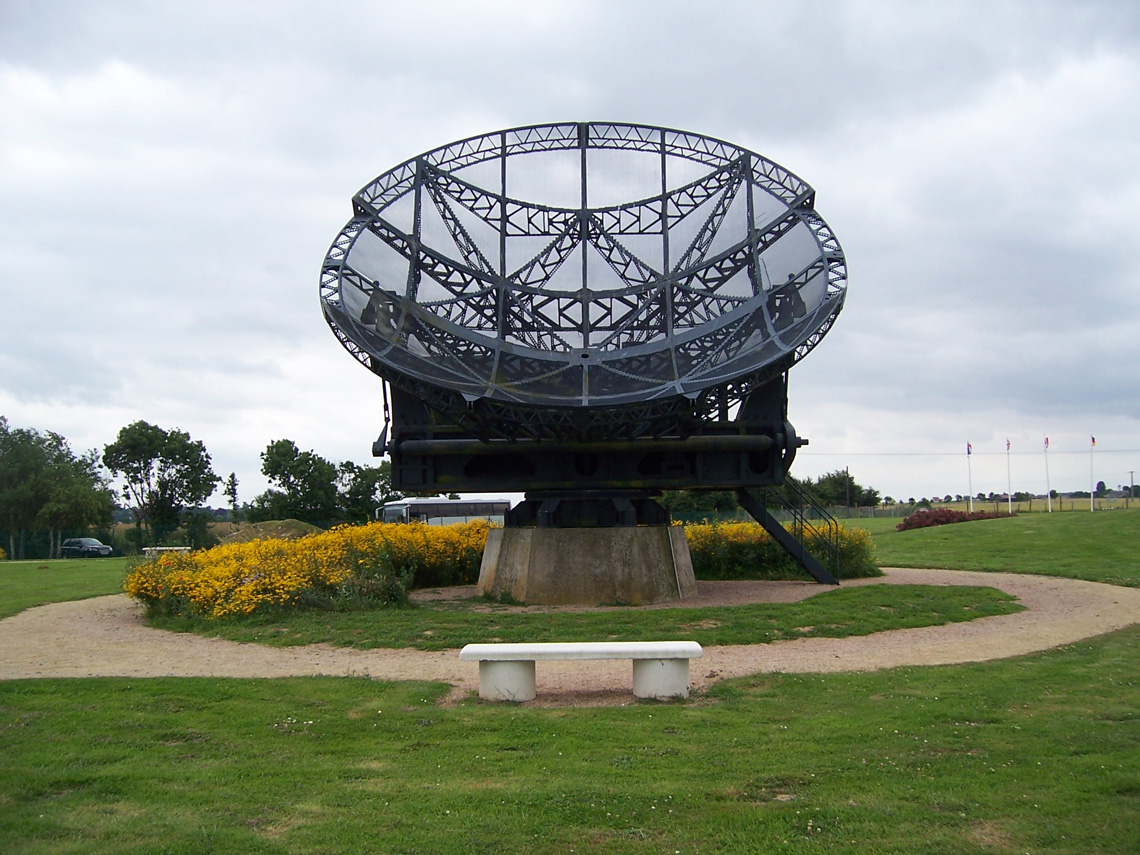
Location 8 – The Radar Sites at Douvres-la-DélivrandeDirections – Return to Coleville and take the D35 to Hermanville-sur-Mer. When you reach the village continue straight on following the signs to Douvres-la-Délivrande. Once near the town you will pick up signs to the Musée Radar which is just outside on the D83 to Basly.
IMPORTANT NOTE: At the time of writing the museum and site are open from April to September and a small entrance fee is charged. For further information contact the Mairie in Douvres at infos@mairie-douvres14.com. What Happened after D-Day? – The radar station at Douvres was one of a series of sites in northern France, Belgium and Holland which formed an air defence network to detect and direct intercepts of Bomber Command and US Army Air Force raids. Douvres possessed a long-range early-warning radar at its northern site and two general air defence radars and a large Wurzburg set used to direct night-fighters against enemy bombers within a larger, southern site. To protect the Luftwaffe specialists and the garrison from air attack, the Germans constructed a number of deep casemates, some of which were sunk four stories below ground. Meanwhile ground defence relied on anti-tank guns, mortars, anti-aircraft guns, machine-guns in Tobruk emplacements and a field gun. Minefields and barbed wire surrounded the site. Douvres fell within 3rd Canadian Division's area of operations on D-Day but, being sufficiently far inland, it was only reached on the morning of 7th June. Allied intelligence believed that the aerial bombardment had damaged the site and the Luftwaffe defenders would be unlikely to fight for long. They were wrong. The German defenders were quite safe in their thick concrete emplacements from all but the very heaviest ordnance and they were ready to repel attacks. A probing advance on the northern site from the direction of Tailleville by the North Shore Regiment was easily beaten off and a later assault by 5th Black Watch also failed to breach the wire and minefields. At first it was decided to bypass the position and the Canadian 3rd and 51st Highland Divisions moved on southward with the Royal Marines of 41 Commando given the task of standing guard to prevent any breakout. But, as June wore on, and space in the beachhead zone became more limited, it was decided that the radar site would have to be taken by force. To force their way in, Lieutenant-Colonel Palmer of 41 Commando gathered a huge force of specialist armoured – flail tanks of 22nd Dragoons to detonate the minefields and shred the wire and AVREs of 5th and 77th Assault Squadrons, Royal Engineers to smash the casemates with their short-range Petard mortars. At 1700 on 16th June, following a preceeding bombardment which included heavy 7.2-inch guns of the Royal Artillery, the armour moved off. The history of the 22nd Dragoons takes up the story,
"In clouds of dust, and with a shattering clanking of chains, the flails moved into the minefield. German machine guns stuttered away here and there, swishing around them apparently at random. From a patch of dead ground, a group of supporting flails, hull down, loosed off machine guns and 75mm shell to keep the German heads down. For half an hour and more, the flails moved smoothly on, biting through the minefield and touching off mines that sent up tall pillars of heavy black smoke. Then they were through, and in the most leisurely manner the AVREs rolled up the lanes to the mouths of the fortresses…But there was little opposition; there could not be, for the whole area was swept by fire from the flails." Extract from Juno Beach by Tim Saunders, 2004 Pen & Sword Books.
Once inside the perimeter the AVREs launched their 40-pound charges at point-blank range against the casemates. Almost immediately the German defenders began to surrender and the commandos moved in to mop up. Altogether 227 Germans were found within the casemates.
Some Conclusions The capture of the Douvres-la-Délivrande radar station, together with the fall of Hillman, WN27, 29, 31, 39 and 42 and the Longues-sur-Mer Battery illustrated a number of key factors, namely:
The overall success on D-Day of the British and Canadian landings was in no small measure due to their commanders' realisation of the imperative of getting armour onto the beach quickly to protect and support the incoming infantry and the realisation that long-range naval artillery fire and aerial bombardment had their limitations. As the events on JUNO beach demonstrated, infantry unsupported by armour equalled a bloodbath. Luckily for the Canadians, the DD tanks and AVREs of the Royal Engineers arrived not long afterwards. Further west, on the American OMAHA beach, there were none in the inventory to send. A tough beach in any case, with high bluffs guarding all the beach exits, suddenly became a whole lot tougher and all that was available to the young American infantry that morning was the most inadequate of protections against bullet and shell…bravery and courage.
prev page (Location 7) | Omaha Beach
|